配置微信告警
首先先去搞一个微信企业号,创建一个新的应用: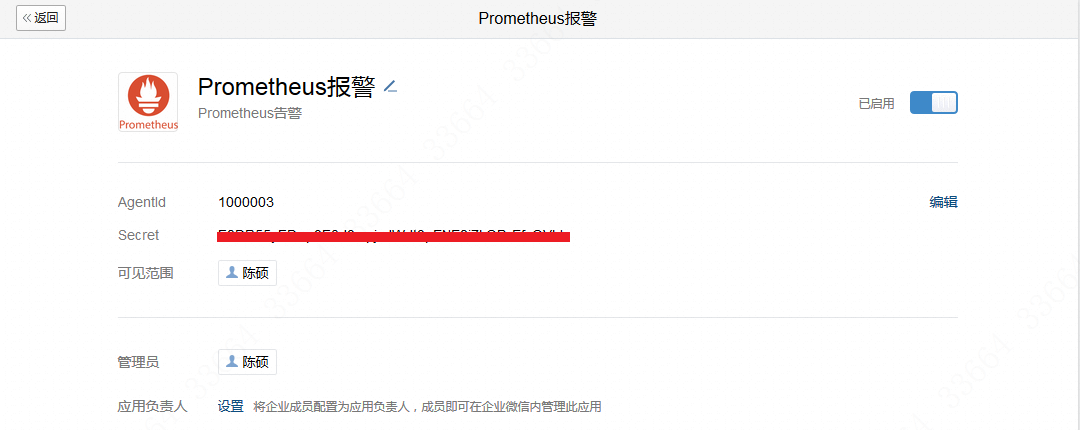
创建微信企业号的过程可以见https://rorschachchan.github.io/2018/01/10/Zabbix3-0%E6%90%AD%E9%85%8D%E5%BE%AE%E4%BF%A1%E4%BC%81%E4%B8%9A%E5%8F%B7%E6%8A%A5%E8%AD%A6/ 这篇文章。
来到prometheus服务器里,编辑alertmanager.yml如下:
1
2
3
4
5
6
7
8
9
10
11
12
13
14
15
16
17
18
19
20
21
22
23
24
25
26
27
28
29
30
31
32
33
34
35
36
37
38
39
40
41
42
43
44
45global:
resolve_timeout: 5m
smtp_smarthost: 'smtp.163.com:465'
smtp_from: 'chenx1242@163.com'
smtp_auth_username: 'chenx1242@163.com'
smtp_auth_password: '邮箱密码'
smtp_require_tls: false
wechat_api_url: http://qyapi.weixin.qq.com/cgi-bin/ #这里是wechat对外接口
templates:
- './template/*.tmpl' # 模板的地址
route:
group_by: ['chentest']
group_wait: 10s
group_interval: 30s
repeat_interval: 30m
receiver: 'GOOGLE-email'
routes: # 这里做了一个路由
- receiver: 'wechat'
group_wait: 30s # 这个路由会覆盖上面的值
receivers:
- name: 'GOOGLE-email'
email_configs:
- send_resolved: true
to: 'chenshuo955@gmail.com'
html: '{{ template "email.html" . }}'
headers: { Subject: "[WARN]Prometheus告警邮件" }
- name: 'wechat'
wechat_configs:
- corp_id: 'XXXX' # 企业信息("我的企业"--->"CorpID"[在底部])
to_user: '@all' # 所有人就是@all,或者是指定人
agent_id: '1000003' # 企业微信("企业应用"-->"自定应用"[Prometheus]--> "AgentId")
api_secret: 'E8DR55yEDwp0E3d0mpjsdWdt0pFNF9i7kQPzFfsQVbI' # 企业微信("企业应用"-->"自定应用"[Prometheus]--> "Secret")
send_resolved: true #问题解决了要发信息
message: '{{ template "wechat.html" . }}' # 指定模板
inhibit_rules:
- source_match:
severity: 'critical'
target_match:
severity: 'warning'
equal: ['alertname', 'dev', 'instance']
然后来到当前目录的/template/里创建wechat.tmpl,如下:
1
2
3
4
5
6
7
8
9
10
11
12
13
{{ define "wechat.html" }}
{{ range .Alerts }}
========start==========
告警程序: prometheus_alert
告警级别: {{ .Labels.severity }}
告警类型: {{ .Labels.alertname }}
故障主机: {{ .Labels.instance }}
告警主题: {{ .Annotations.summary }}
告警详情: {{ .Annotations.description }}
触发时间: {{ .StartsAt.Format "2019-01-01 01:01:01" }}
========end==========
{{ end }}
{{ end }}
启动alertmanager,不就就可以在微信上看到信息了: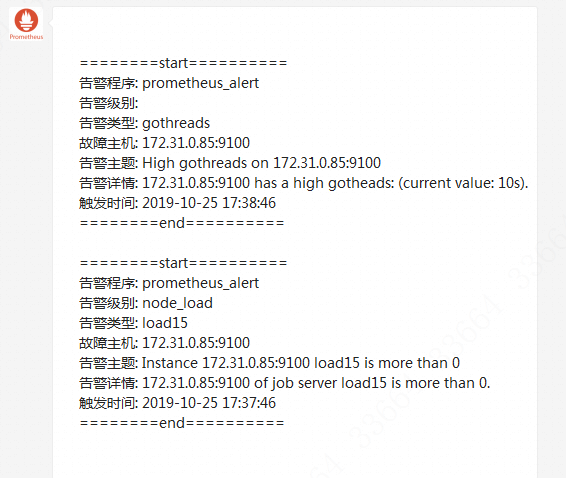
配置钉钉告警
首先先创建钉钉机器人并且获取对应的token: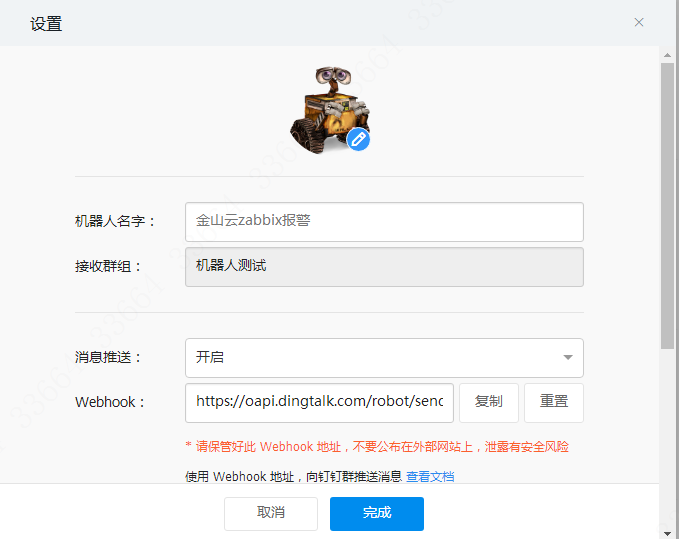
然后检查一下自己的golang版本,网络上流行的timonwong的webhook是不能用于1.13版本的,所以要安装1.11版本的golang。安装方法golang 1.11方法如下:
1
2
wget https://studygolang.com/dl/golang/go1.11.linux-amd64.tar.gz
tar zxvf go1.11.linux-amd64.tar.gz -C /usr/local
修改/etc/profile,在文件末尾添加如下内容:
1
2
3
4
#go setting
export GOROOT=/usr/local/go
export GOPATH=/usr/local/gopath
export PATH=$PATH:$GOROOT/bin
执行source /etc/profile配置文件的环境变量立刻生效,此时在/usr/local/go/src路径下:
1
2
3
4
5
mkdir -pv github.com/timonwong
cd github.com/timonwong
git clone https://github.com/timonwong/prometheus-webhook-dingtalk.git
cd prometheus-webhook-dingtalk/
make
然后执行效果如下,同时/usr/local/go/src/github.com/timonwong/prometheus-webhook-dingtalk路径下多了一个prometheus-webhook-dingtalk: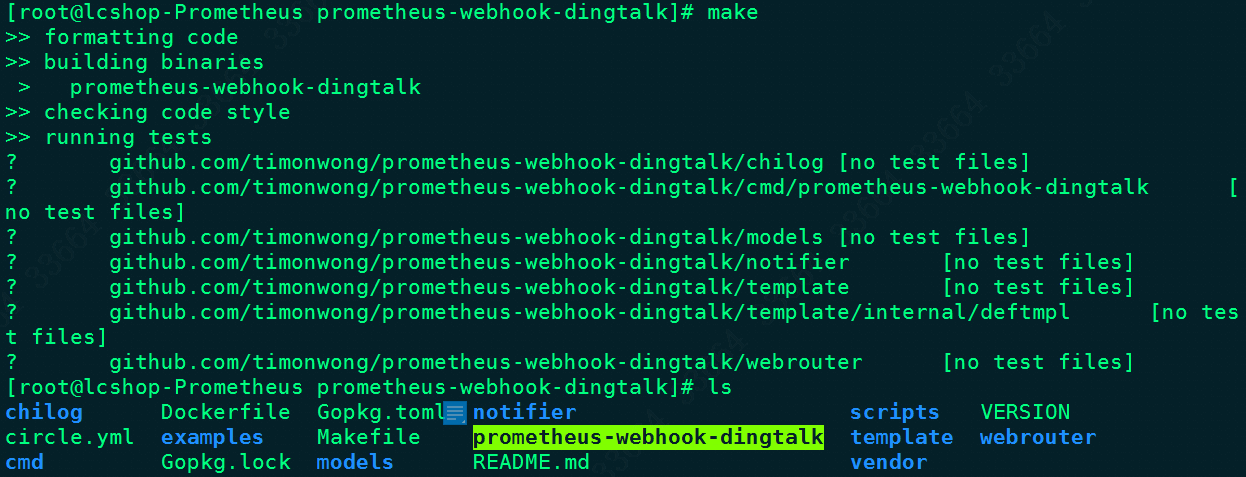
然后在后台执行这个prometheus-webhook-dingtalk:
1
nohup ./prometheus-webhook-dingtalk --ding.profile="chen_dingding=https://oapi.dingtalk.com/robot/send?access_token=XXXXX" 2>&1 1>dingding.log & #创建一个频道chen_dingding
然后在alertmanager.yaml增加钉钉报警相关的信息:
1
2
3
4
5
6
7
8
9
- receiver: 'dingding'
group_wait: 30s
match:
go: gothreads
- name: 'dingding'
webhook_configs:
- send_resolved: true
url: http://localhost:8060/dingtalk/chens_dingding/send #这里频道要一致
然后重启Alarmmanager即可,一会就能收到报警: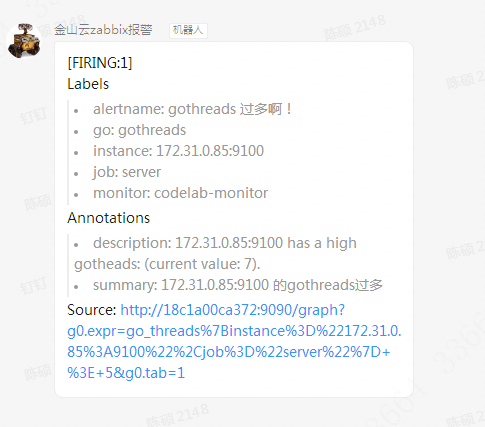
至于这个钉钉与alertmanager的webhook勾连的细节,可以去看http://ylzheng.com/2018/03/01/alertmanager-webhook-dingtalk/ 。
参考资料
https://www.cnblogs.com/xzkzzz/p/10211394.html
https://github.com/prometheus/alertmanager/issues/1385
https://blog.rj-bai.com/post/158.html